Prep Like a Pro: Top Tips for a Flawless, Long-Lasting Interior Paint Job in Delaware
Most interior paint jobs fail because of poor prep work. You might think a quick wipe and a splash of paint will do, but the truth is that how to prep walls for painting makes all the difference in durability and finish. We’ll share paint preparation tips that help you avoid peeling, cracking, and uneven coverage. Ready to get professional results with interior painting Delaware experts? Let’s get started! Check out this guide for more detailed advice.
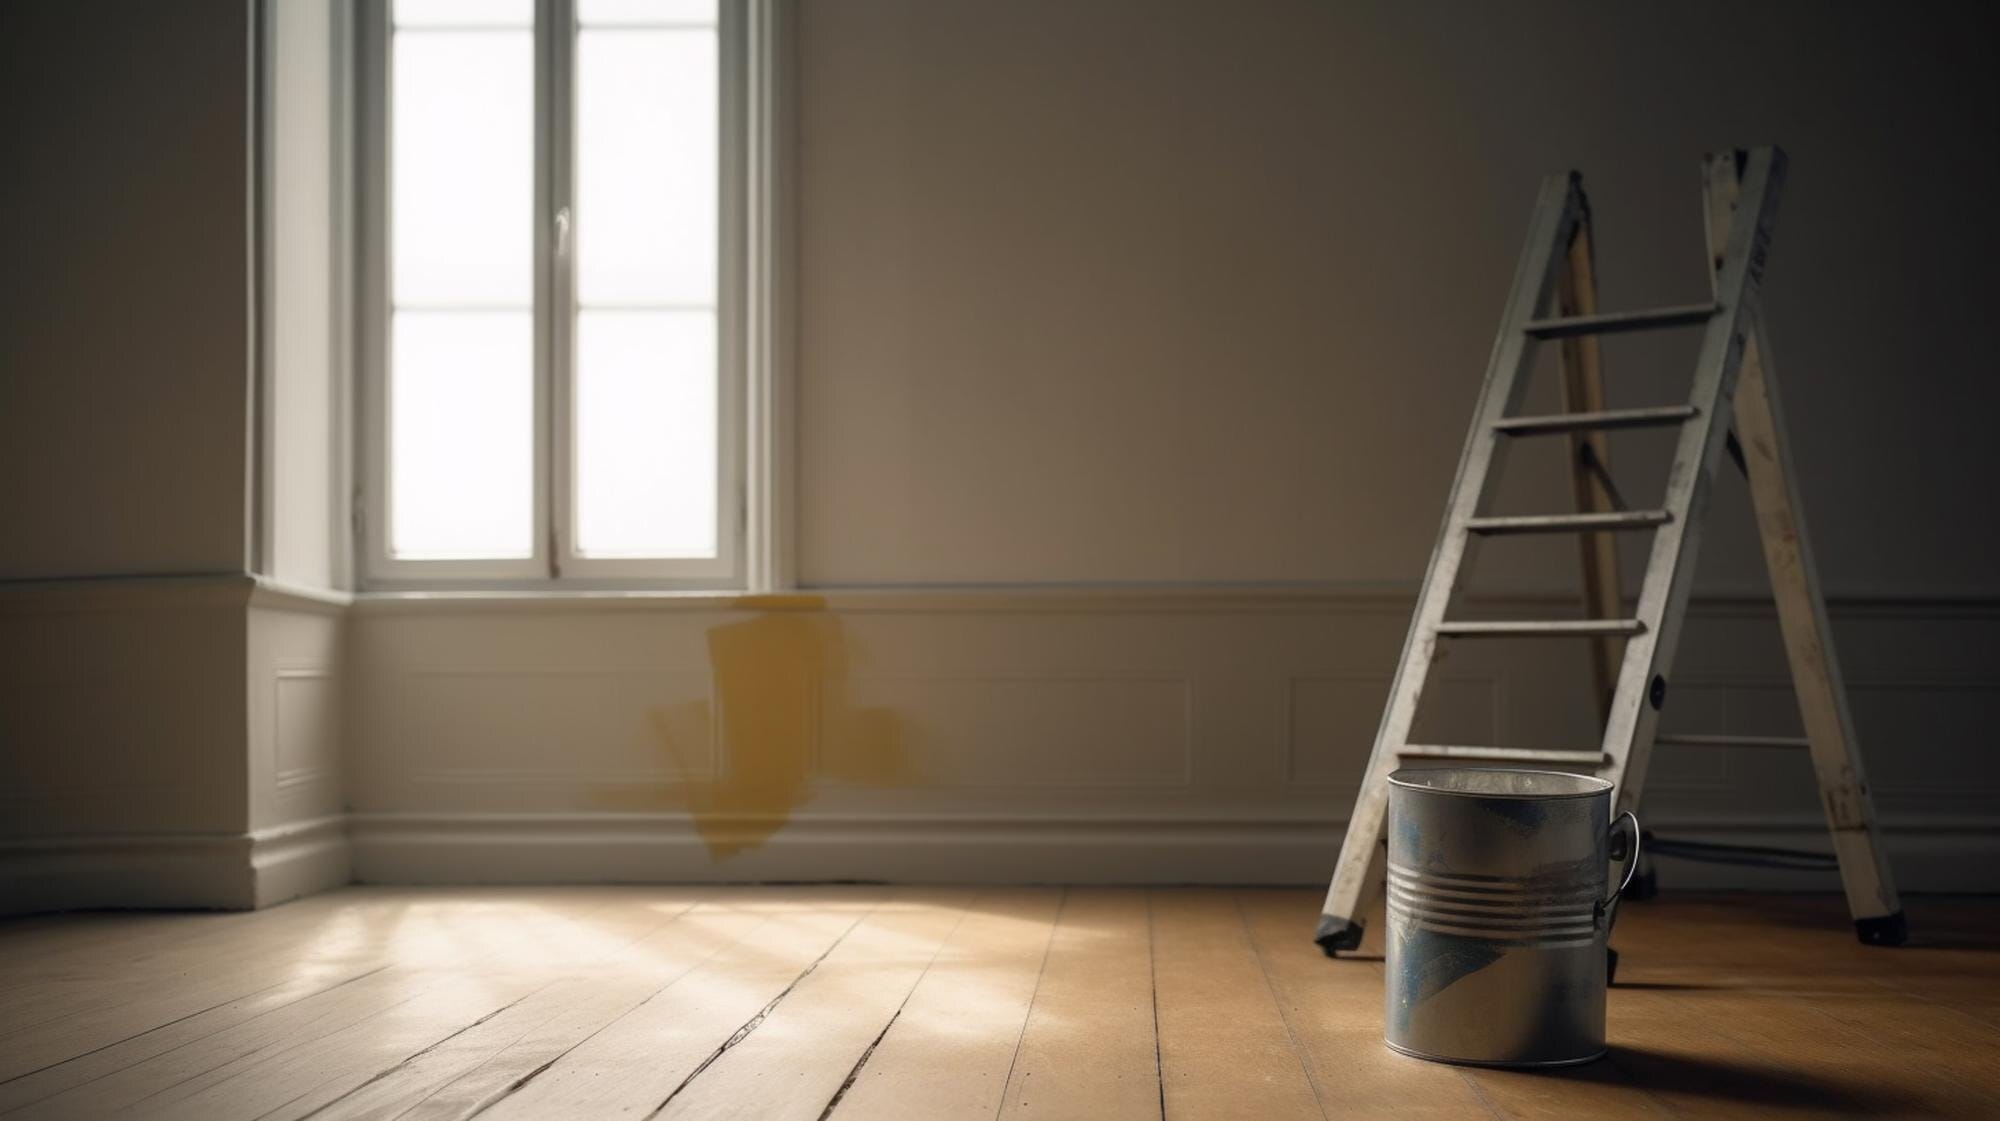
Preparing for a Perfect Paint Job
![]()
Getting the prep work right sets the stage for a stunning result. Without proper preparation, even the best paints can disappoint. Let’s dive into the essentials of prepping walls to achieve that flawless finish.
Surface Cleaning Essentials
Start with a clean slate. Dust, dirt, and grease can ruin your paint job. Most people think a simple dusting is enough, but it’s crucial to wash your walls thoroughly. Use a mild detergent and warm water to wipe down every inch. For sticky spots, a touch of white vinegar works wonders. Ensure surfaces are completely dry before moving on. A damp wall can lead to peeling and uneven coverage later on. Don’t skip this step—it’s the foundation of a successful paint job.
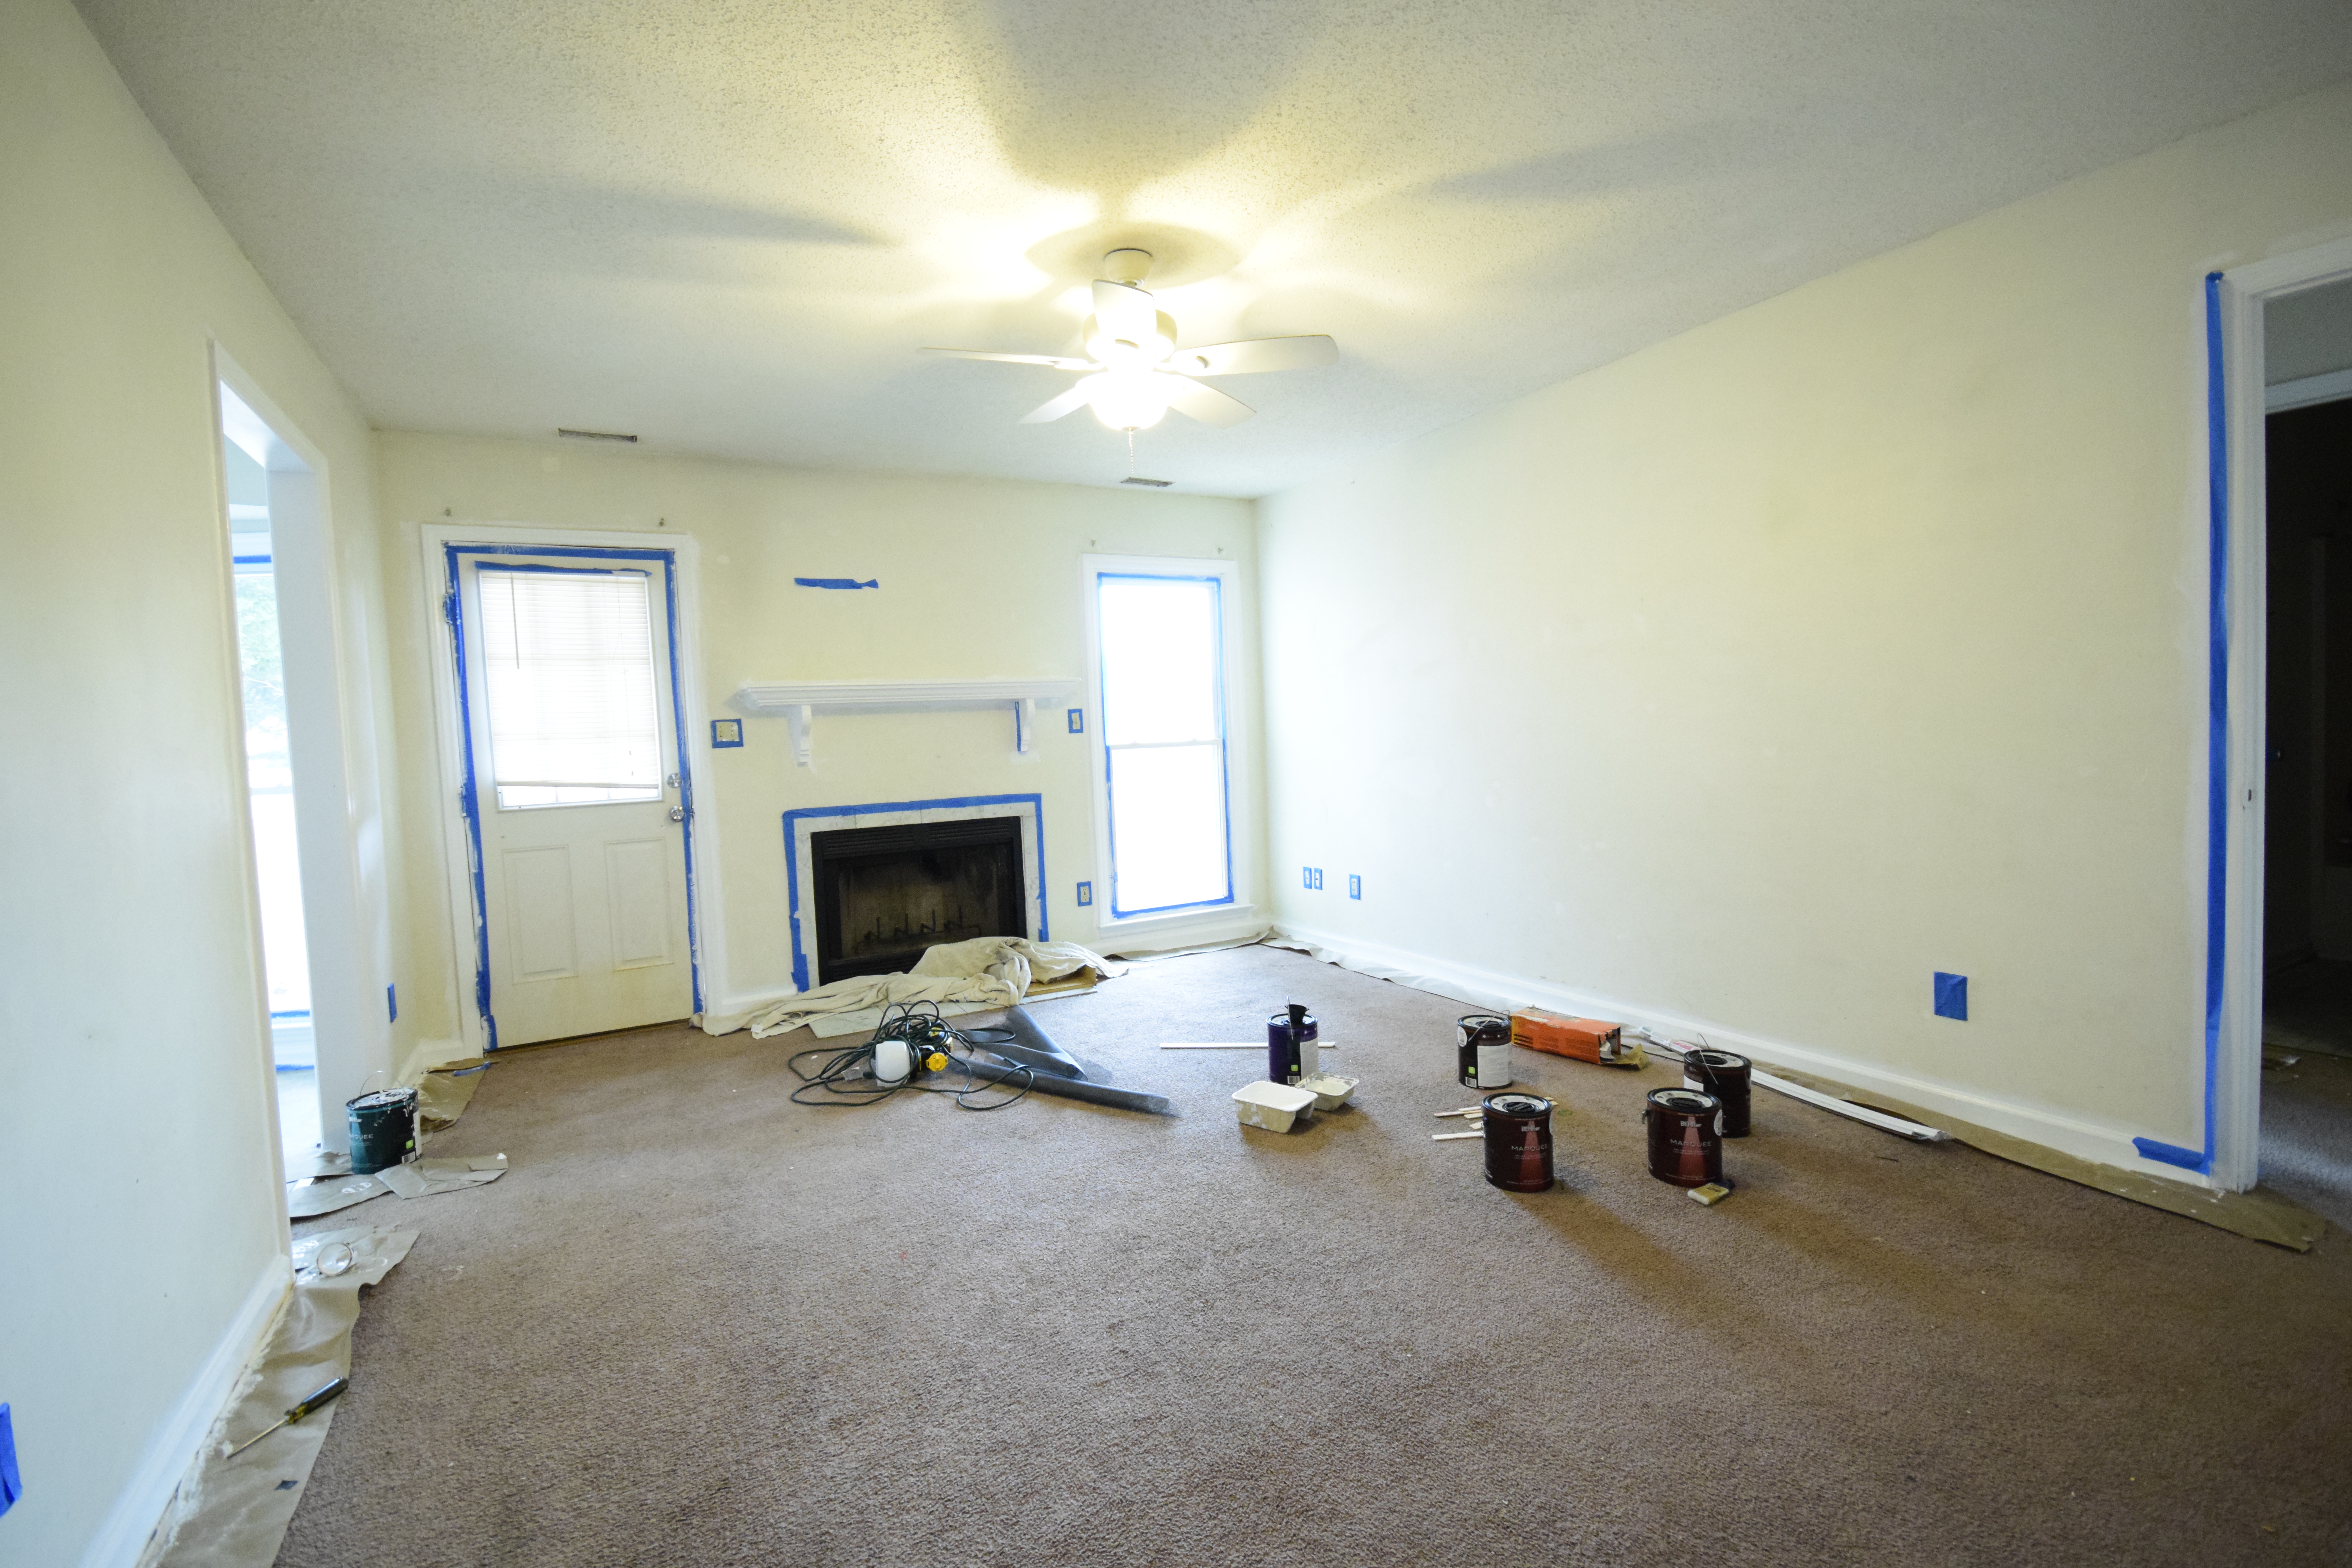
Wall Repairs and Priming
Cracks, holes, and imperfections are common culprits of a bad finish. Before you paint, inspect your walls closely. Fill any holes with spackle and sand smooth once dry. Cracks should be addressed with joint compound. After repairs, priming is key. A good primer hides imperfections and helps paint adhere better. It creates a uniform surface that makes your color pop. Not sure if you need a primer? If you’re covering dark paint or dealing with drywall, it’s a must. Learn more about priming here.
Mastering Paint Application Techniques
Now that your walls are ready, it’s time to think about how you’ll apply the paint. The right techniques make a huge difference in the outcome. Let’s explore some pro tips for applying paint like a seasoned expert.
Sanding and Caulking Tips
Sanding is often overlooked, but it’s a game-changer. Lightly sand your walls with fine-grit sandpaper for a smooth surface. This step ensures the paint adheres properly. Once the dust is settled, caulk any gaps around windows and trim. This prevents moisture from seeping in and gives a polished look. Remember, patience in these early stages pays off with a spectacular finish. Check out this discussion for more insights from fellow DIYers.
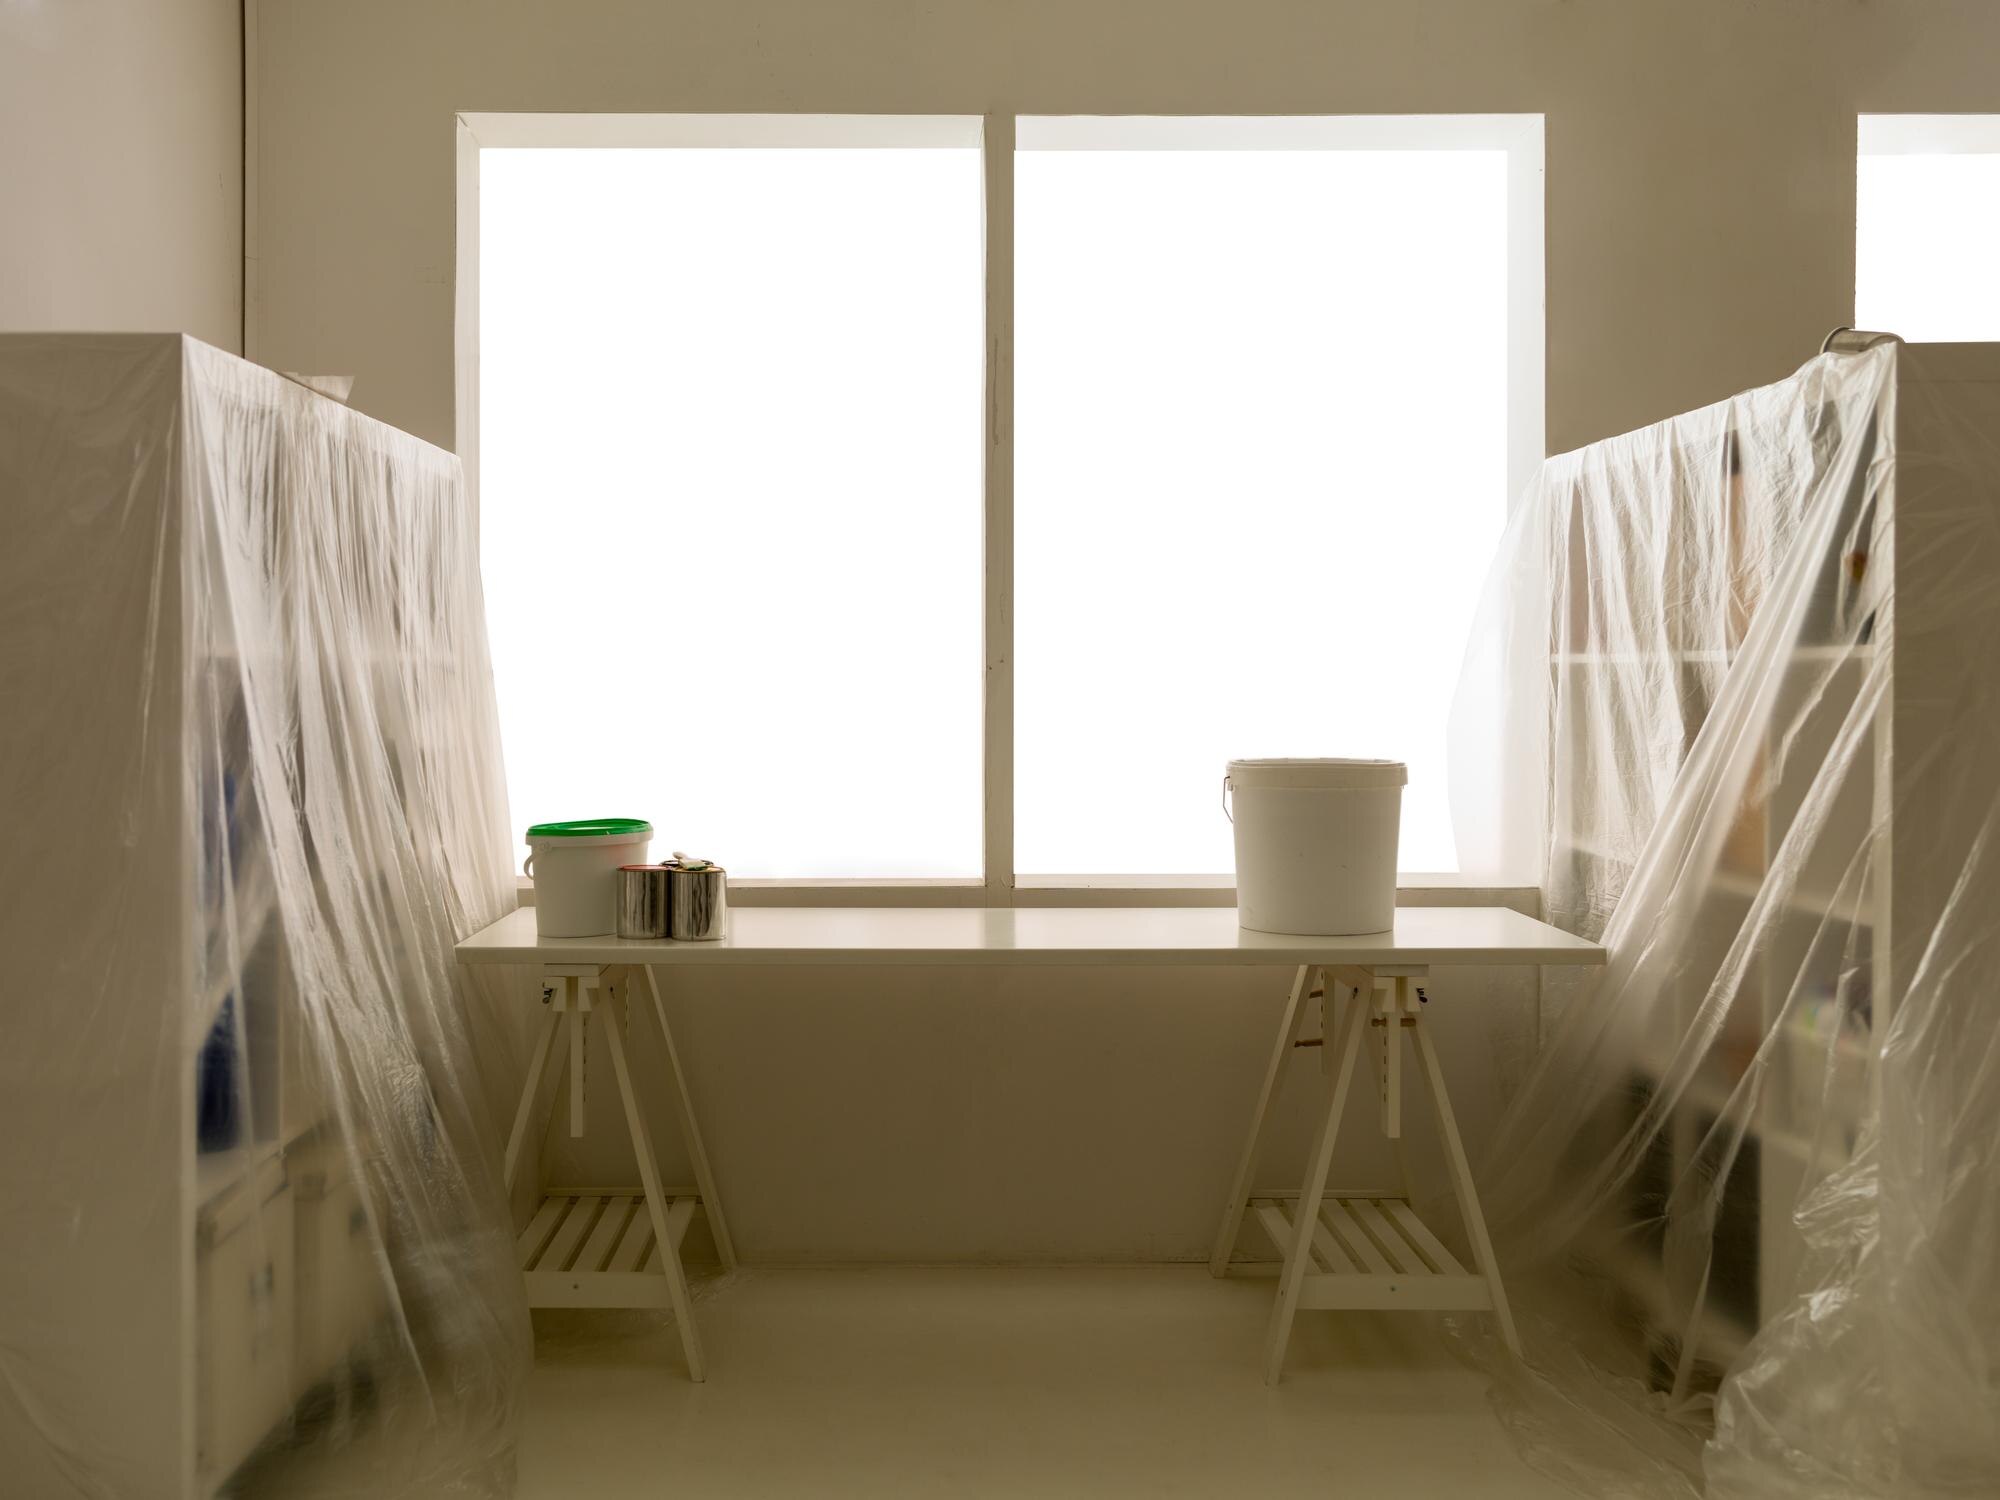
Choosing Low-VOC Interior Paint
Your choice of paint impacts both the look and the health of your home. Low-VOC paints are an excellent choice for interior projects. They release fewer volatile organic compounds, reducing harmful odors and improving indoor air quality. This is especially important in homes with children or pets. Brands like Sherwin Williams offer a variety of colors with these benefits. Choosing the right paint ensures not only beauty but also safety and comfort for your family.
Ensuring Professional Results
You’ve prepped and painted; now it’s time for the finishing touches. These final steps are what separate good jobs from great ones. Let’s talk about how to add those professional details.
Trim Carpentry and Finishing Touches
Adding trim can elevate the look of any room. It’s more than just a decorative touch; it frames your paint job and brings everything together. Whether you’re installing crown molding or baseboards, precise cuts and careful installation are key. Consider hiring professionals for trim carpentry to get the best results. In Delaware, expert services like J. Michael’s Painting can handle this with precision. Remember, the right trim enhances your paint and adds character to your space.
Color Consultation with Sherwin Williams Painters 🎨
Choosing the right color is daunting, but you don’t have to do it alone. A color consultation can help you pick shades that complement your home’s features and your personal style. Sherwin Williams painters offer expert advice to ensure your color choices work harmoniously. They can guide you in selecting hues that reflect your personality and enhance your home’s beauty. So why wait? Transform your space with the perfect palette today!
By following these steps, you’ll achieve a professional-quality finish that stands the test of time. For more information on preparing your walls for painting, explore this comprehensive preparation guide. Transform your home with confidence and enjoy the satisfaction of a job well done!
Leave a Reply