Step-by-Step Guide: Prep Your Home’s Interior for a Flawless Paint Job in Delaware
Prepping your walls the right way makes all the difference in achieving a flawless paint job. Skipping key steps can lead to peeling, uneven color, or wasted time. With over 30 years serving Delaware homes and businesses, J. Michael’s Painting knows exactly how to prep walls for painting so your space looks fresh and lasts longer. Ready for a flawless finish? Get your free estimate and color consultation today! For more tips, check out this guide on interior paint preparation.
Preparing Your Walls for Painting

When it comes to painting, the magic is in the prep work. Without the right groundwork, even the best paint might not meet your expectations. Let’s dive into what you need to get started.
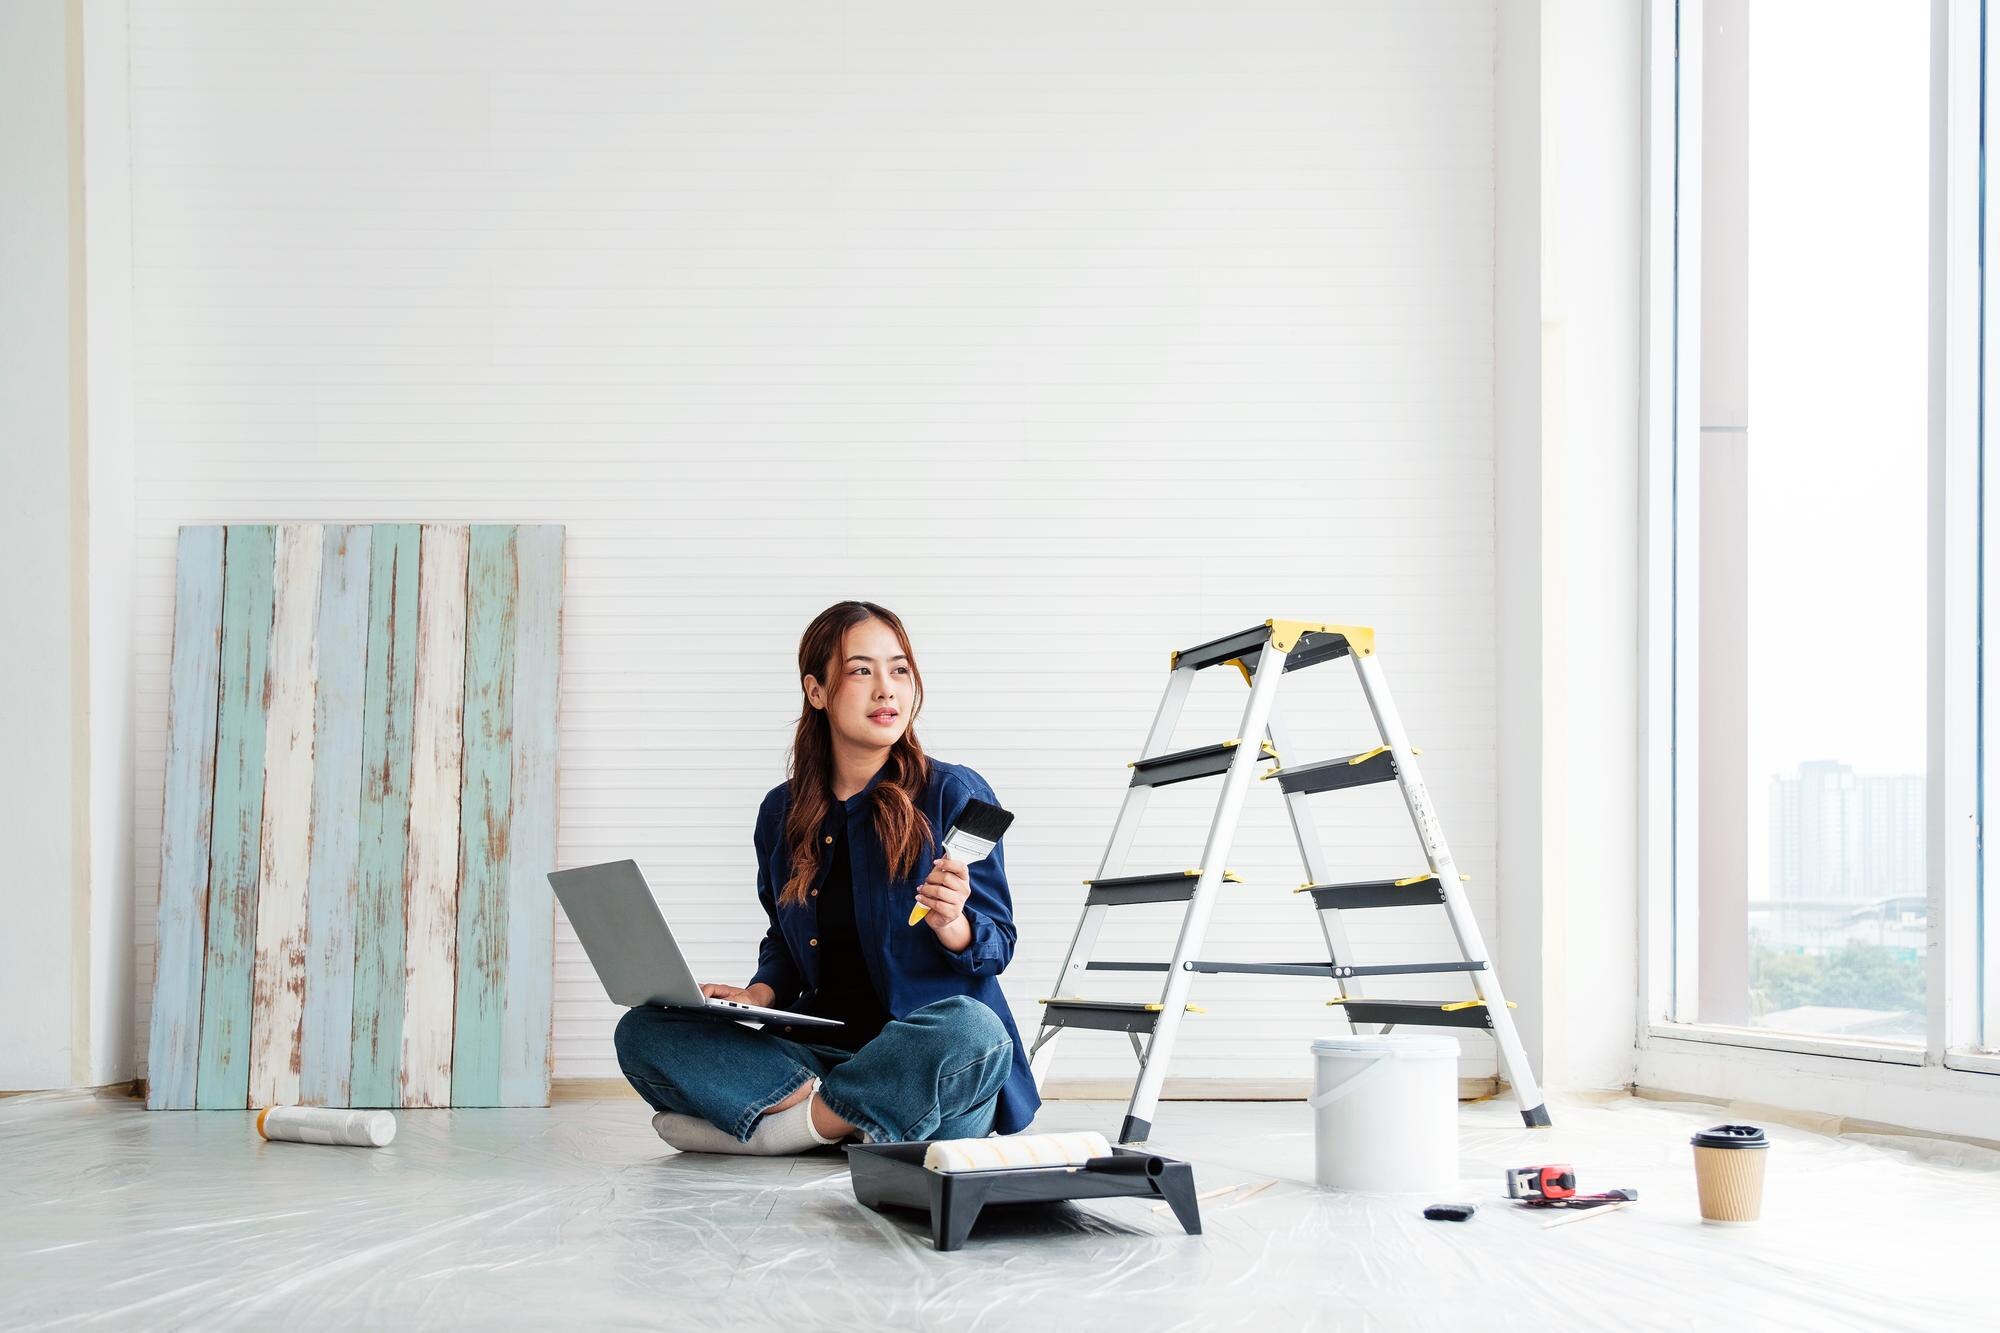
Essential Tools and Materials
To start, you’ll need some basic tools and materials. A good brush and roller are key. You’ll also want a paint tray and some painter’s tape. Don’t forget drop cloths to protect your floors from spills. Make sure you have a putty knife and sandpaper handy, too. These will help tackle any wall imperfections before painting.
Next, gather your cleaning supplies. A mild detergent and sponge work well to cleanse the walls. This removes any dust or grime that could affect your paint’s adhesion. Also, keep a step ladder nearby for those hard-to-reach areas.
Finally, choose a quality primer. This ensures your paint goes on smoothly and lasts longer. A primer can also help hide small flaws in the wall. Investing in good tools and materials makes your painting process smoother and more professional.
How to Prep Walls for Painting
Now that you’re equipped, it’s time to prep those walls. Begin by moving furniture away from the walls. Cover it with drop cloths to keep it safe from paint splatters. Once that’s done, clean the walls with your mild detergent solution. Make sure to rinse and let them dry completely.
Next, inspect the walls for any holes or cracks. Use your putty knife to apply spackle to fill these gaps. Once the spackle dries, sand it down to create a smooth surface. This step is crucial in ensuring your paint goes on evenly.
After addressing imperfections, it’s time to tape off edges and corners. This helps create crisp, clean lines when you paint. Finally, apply a coat of primer to the walls. This sets the stage for a vibrant, long-lasting finish. With these steps, you’re ensuring your paint job is set up for success.
Addressing Wall Imperfections
Even the smallest flaw can impact your paint’s finish. Addressing imperfections is key to achieving a smooth, professional look. Here’s how to tackle those pesky wall issues before painting.
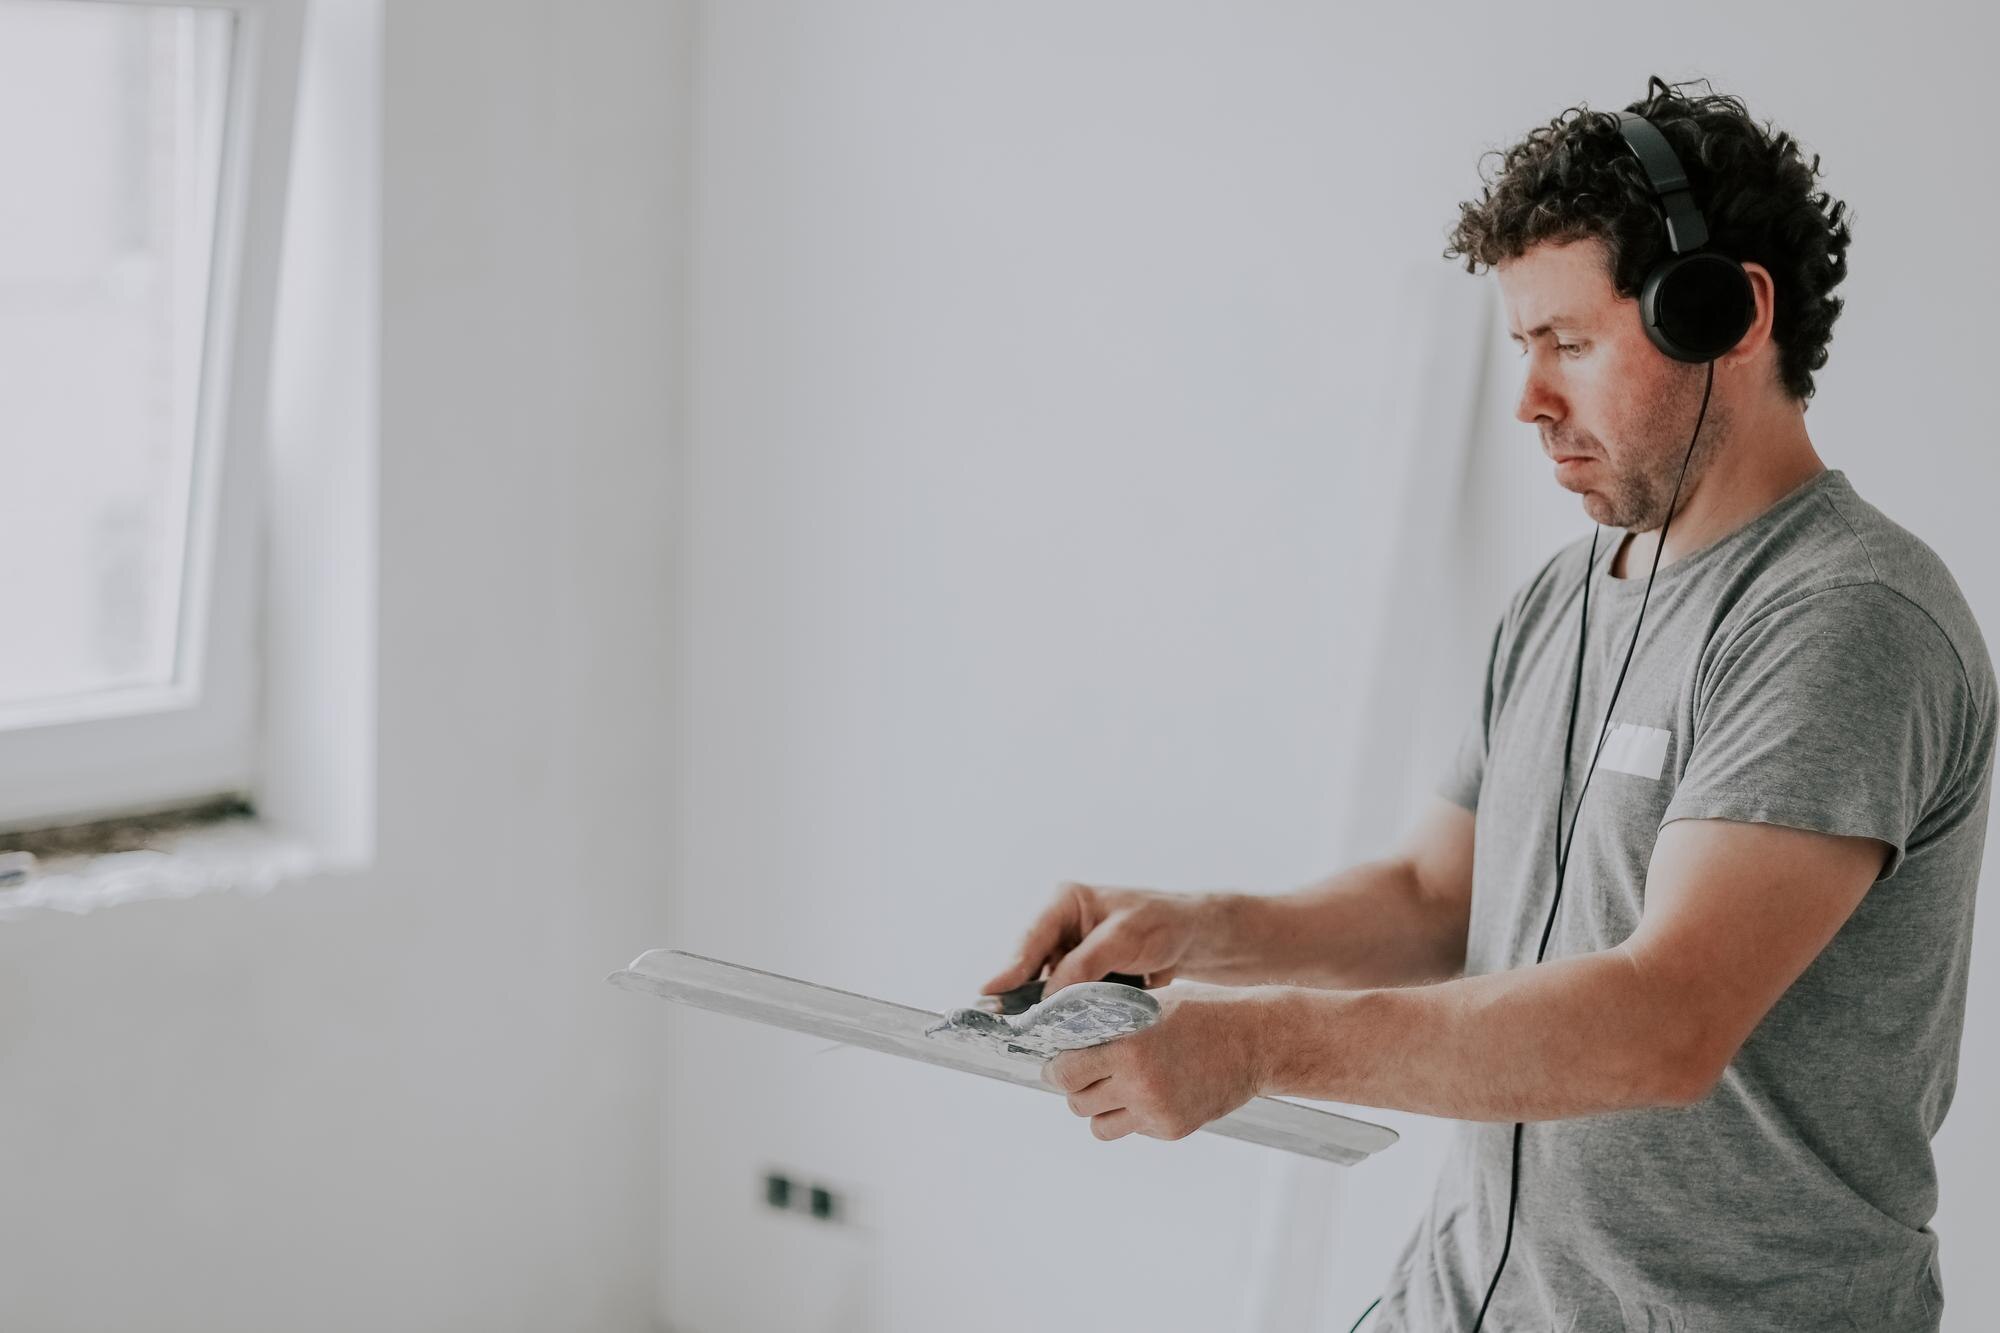
Wall Patching and Sanding Techniques
Patching your walls is a straightforward process. Start by using a putty knife to apply spackle to any holes or dents. This is your first step in creating a flawless surface. After applying the spackle, let it dry completely. This might take a few hours or overnight, depending on the size of the patch.
Once dry, it’s sanding time. Sanding smooths out the spackled area, blending it seamlessly with the wall. Use fine-grit sandpaper for best results. Sand in a circular motion, applying gentle pressure. Take your time with this step; patience pays off with a smoother finish.
After sanding, wipe the wall with a damp cloth to remove any dust. This ensures that the primer and paint adhere properly. Remember, a well-prepared wall is the foundation of any great paint job.
Importance of Primer for Interior Walls
Primer plays a pivotal role in painting. It creates a uniform surface that helps paint adhere better. This means your color will be consistent and vibrant. Primer can also help cover up minor imperfections, giving your walls a smoother appearance.
Additionally, primer helps prevent paint from peeling and cracking over time. This is crucial in high-traffic areas like hallways or kitchens. By applying primer, you’re investing in the longevity of your paint job.
Not sure which primer to use? Many professionals choose options from Sherwin Williams for their reliability and quality. This step is your insurance for a beautiful, durable finish.
Expert Tips for a Flawless Finish
Want your paint job to look like a pro did it? Employing the right tips can make all the difference. Here’s what you need to know.
Choosing the Right Sherwin Williams Paints
Sherwin Williams offers a range of paints that can elevate your interior spaces. Their low-VOC options are perfect for homes concerned about air quality. These paints are not only eco-friendly but also provide excellent coverage.
When selecting colors, consider both the room’s lighting and your personal style. Light colors can make a room feel larger, while darker shades bring warmth and coziness. Don’t hesitate to test a few samples on your wall before making a final decision.
Finally, remember that quality paint can save you time and money in the long run. It offers better coverage, meaning fewer coats and less work. Plus, it tends to last longer, keeping your walls looking fresh for years.
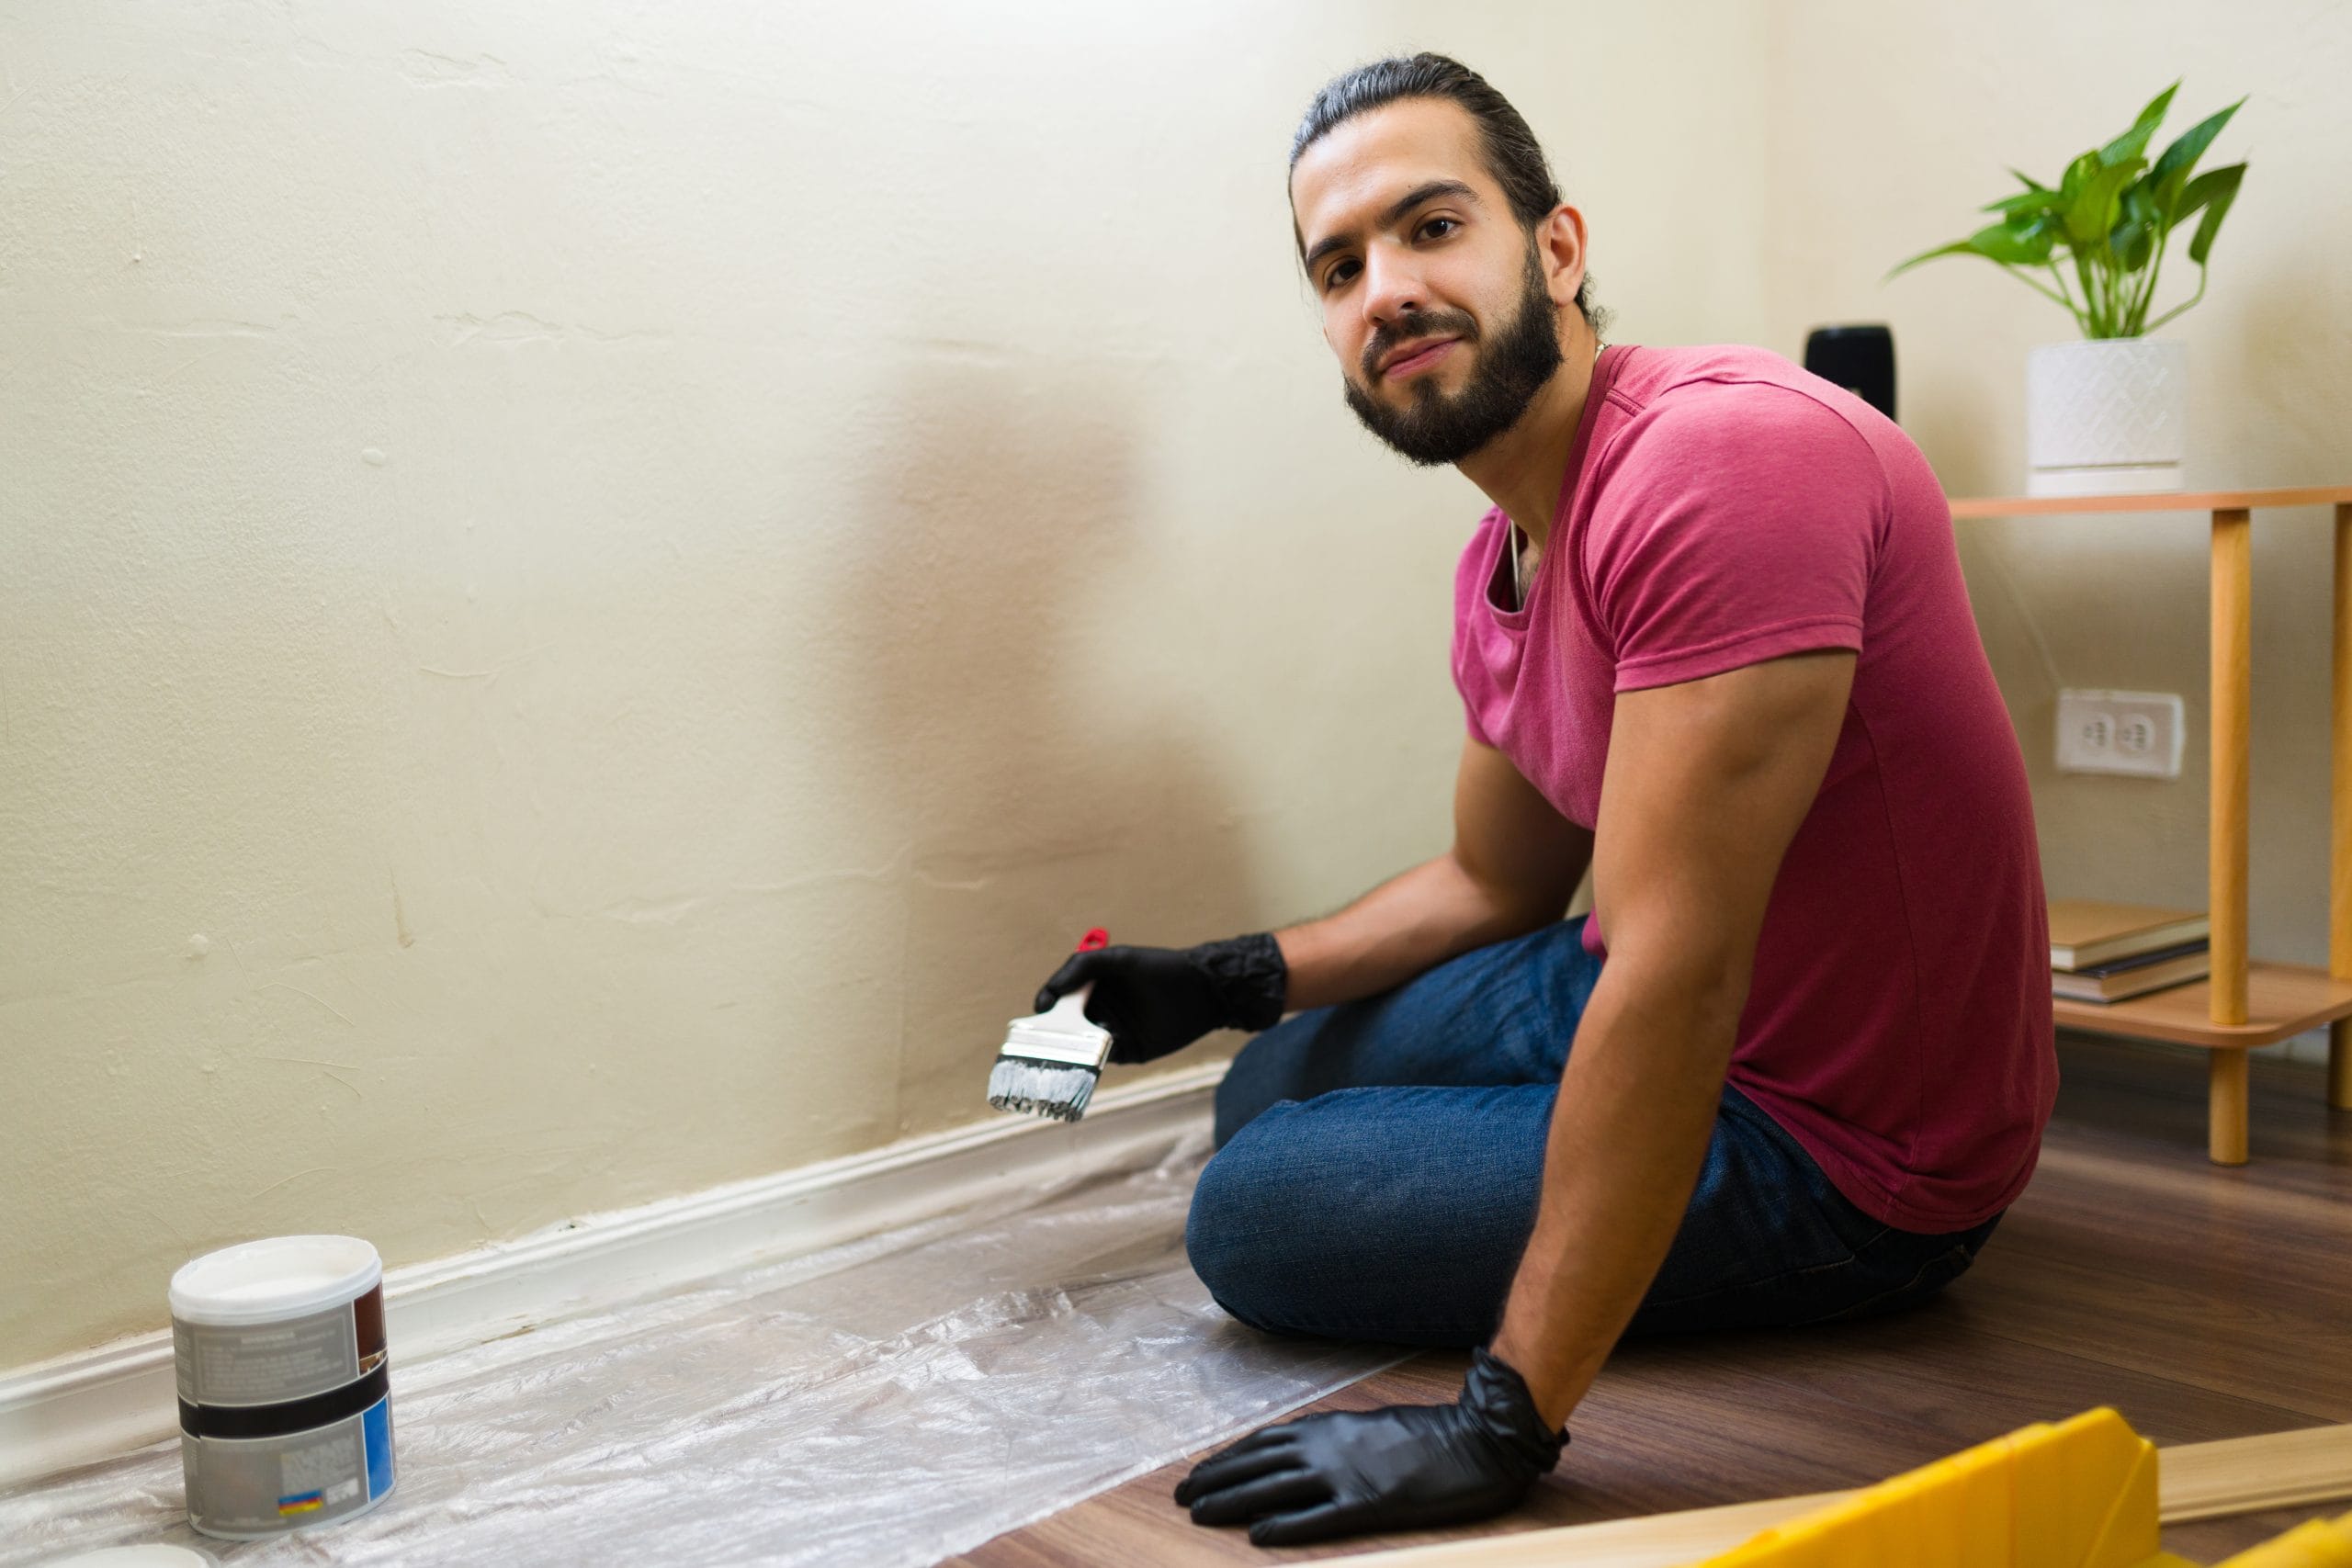
Professional Trim Painting Techniques
Painting trim might seem tricky, but with the right technique, you can achieve clean lines. Start by sanding the trim to remove any old paint or rough spots. A smooth surface is key to a crisp finish.
Next, use painter’s tape to protect the wall adjacent to the trim. This ensures your paint stays where you want it. When applying paint, a high-quality angled brush is your best friend. It gives you control and precision, even in tight corners.
Consider using a semi-gloss finish for trim. It’s easier to clean and adds a subtle sheen that highlights the architectural details. With these tips, your trim will look sharp and professional, adding the perfect finishing touch to your room.