Understanding the Importance of Wall Preparation
Preparing your walls is a crucial step in the painting process that can significantly impact the final outcome. Proper preparation ensures that the paint adheres well, resulting in a smooth, even finish that lasts longer. Skipping this step can lead to peeling paint, uneven textures, and a less professional appearance.
Effective wall preparation involves cleaning the surface, repairing any imperfections, and priming where necessary. For instance, filling in holes or cracks with spackle and sanding the surface smooth can make a world of difference. Additionally, using a primer can help enhance the color of the paint and improve its durability, making it a wise investment for any painting project.
Essential Tools and Materials for Wall Preparation
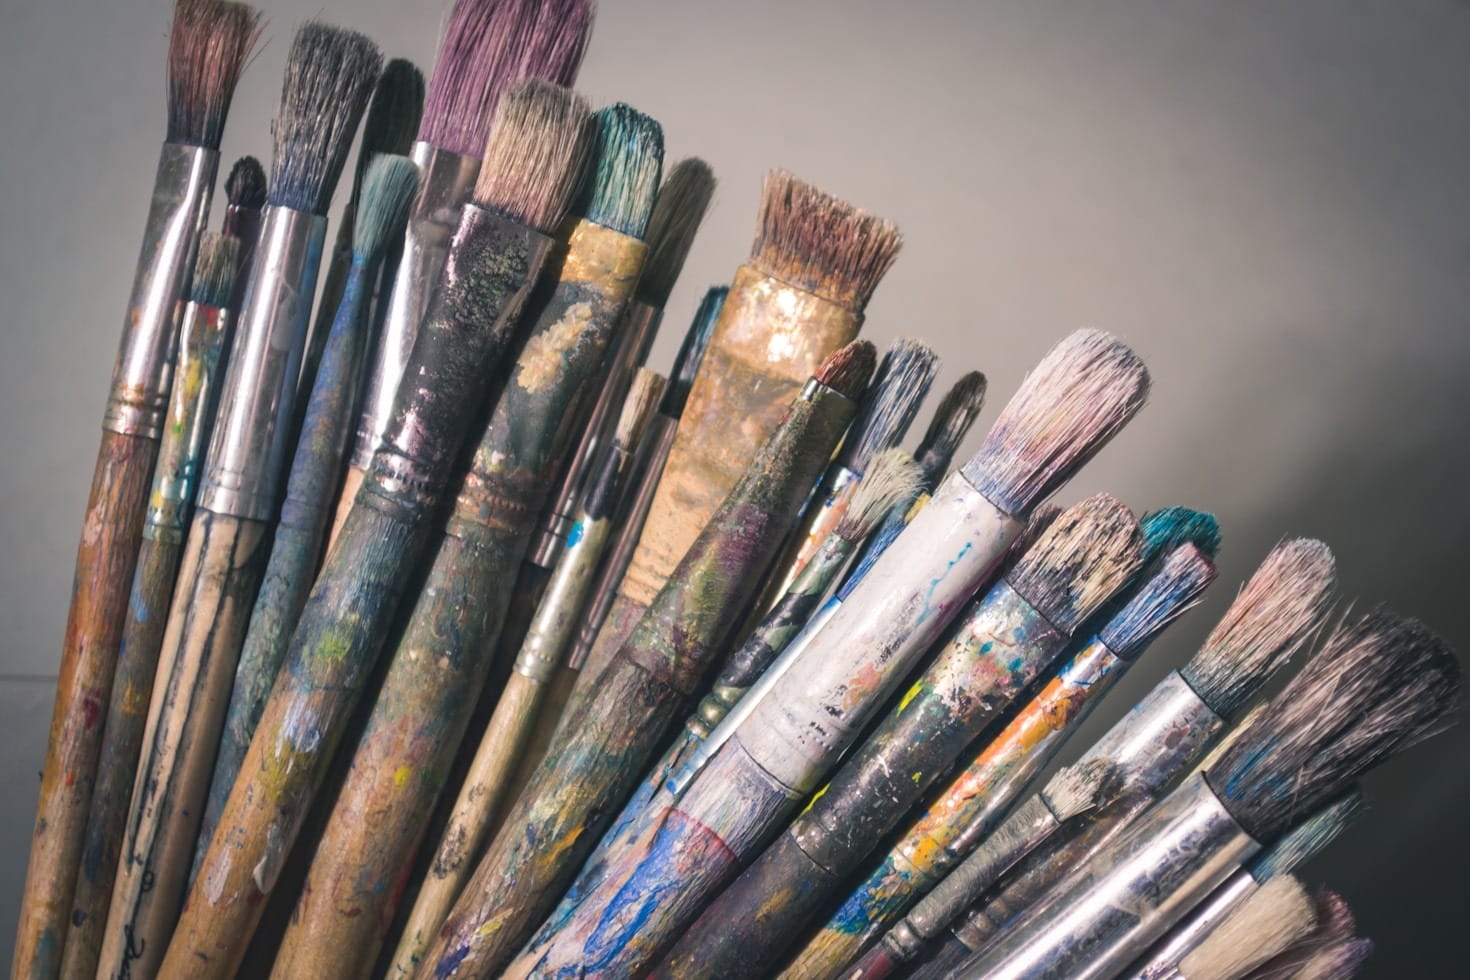
Having the right tools and materials is essential for an efficient wall preparation process. A well-equipped toolkit can streamline your efforts and help achieve the best possible results. Common tools include paint rollers, brushes, drop cloths, sponges, and sandpaper, all of which play a vital role in preparing your walls.
For example, using a high-quality roller can help apply primer evenly, while sandpaper is crucial for smoothing out any rough patches. Additionally, protective gear like masks and gloves ensures safety while working with paints and chemicals. Investing in these tools not only saves time but also enhances the overall quality of your painting project.
Step-by-Step Guide to Preparing Your Walls
A systematic approach to wall preparation can simplify the process and yield impressive results. Start by clearing the area and removing any furniture or decor that may obstruct your work. Next, clean the walls thoroughly to eliminate dust, grease, or old paint residues that may affect adhesion.
After cleaning, inspect the walls for any imperfections, such as holes or cracks, and address them using appropriate fillers. Once repaired, sand the walls to create a smooth surface, and finish by applying a coat of primer. Following this step-by-step guide ensures that your walls are primed and ready for a flawless paint application.
Common Mistakes to Avoid When Preparing Walls
Even seasoned DIYers can make mistakes when preparing walls for painting, which can lead to subpar results. One common error is neglecting to clean the walls properly, which can result in poor paint adhesion. Additionally, failing to repair imperfections or skipping the primer can lead to an uneven finish.
Another mistake is using the wrong tools or materials, which can hinder the preparation process. For instance, using low-quality brushes or rollers can leave streaks or lint on the walls. By being aware of these common pitfalls and taking the necessary precautions, you can ensure a successful painting project that meets your expectations.
Understanding the Importance of Wall Preparation
Preparing your walls is a crucial step in the painting process that can significantly impact the final outcome. Proper preparation ensures that the paint adheres well, resulting in a smooth, even finish that lasts longer. Skipping this step can lead to peeling paint, uneven textures, and a less professional appearance.
Effective wall preparation involves cleaning the surface, repairing any imperfections, and priming where necessary. For instance, filling in holes or cracks with spackle and sanding the surface smooth can make a world of difference. Additionally, using a primer can help enhance the color of the paint and improve its durability, making it a wise investment for any painting project.
Essential Tools and Materials for Wall Preparation
Having the right tools and materials is essential for an efficient wall preparation process. A well-equipped toolkit can streamline your efforts and help achieve the best possible results. Common tools include paint rollers, brushes, drop cloths, sponges, and sandpaper, all of which play a vital role in preparing your walls.
For example, using a high-quality roller can help apply primer evenly, while sandpaper is crucial for smoothing out any rough patches. Additionally, protective gear like masks and gloves ensures safety while working with paints and chemicals. Investing in these tools not only saves time but also enhances the overall quality of your painting project.
Step-by-Step Guide to Preparing Your Walls
A systematic approach to wall preparation can simplify the process and yield impressive results. Start by clearing the area and removing any furniture or decor that may obstruct your work. Next, clean the walls thoroughly to eliminate dust, grease, or old paint residues that may affect adhesion.
After cleaning, inspect the walls for any imperfections, such as holes or cracks, and address them using appropriate fillers. Once repaired, sand the walls to create a smooth surface, and finish by applying a coat of primer. Following this step-by-step guide ensures that your walls are primed and ready for a flawless paint application.
Common Mistakes to Avoid When Preparing Walls
Even seasoned DIYers can make mistakes when preparing walls for painting, which can lead to subpar results. One common error is neglecting to clean the walls properly, which can result in poor paint adhesion. Additionally, failing to repair imperfections or skipping the primer can lead to an uneven finish.
Another mistake is using the wrong tools or materials, which can hinder the preparation process. For instance, using low-quality brushes or rollers can leave streaks or lint on the walls. By being aware of these common pitfalls and taking the necessary precautions, you can ensure a successful painting project that meets your expectations.