
Top Tips to Prep Your Home’s Exterior for a Durable, Beautiful Paint Finish
Most homeowners rush into painting without the right prep. That’s where trouble starts—peeling, fading, and costly touch-ups. Mastering home exterior prep tips can save you time and money while giving your property a weather-resistant paint finish that lasts. Let’s walk through the essential steps to get your exterior ready for a beautiful makeover with J. Michael’s Painting. Ready to refresh your exterior? Get your free estimate today! For more tips, check out this guide.
Essential Exterior Prep Steps
Getting your home ready for a new coat of paint is crucial. It ensures a smooth finish and long-lasting results. Let’s dive into how you can prepare like a pro.
Importance of Power Washing
Power washing is the first step to a perfect paint job. It removes dirt, mildew, and old paint chips. This cleaning step ensures new paint sticks well. Did you know? Nearly 90% of painting issues arise from inadequate surface prep.
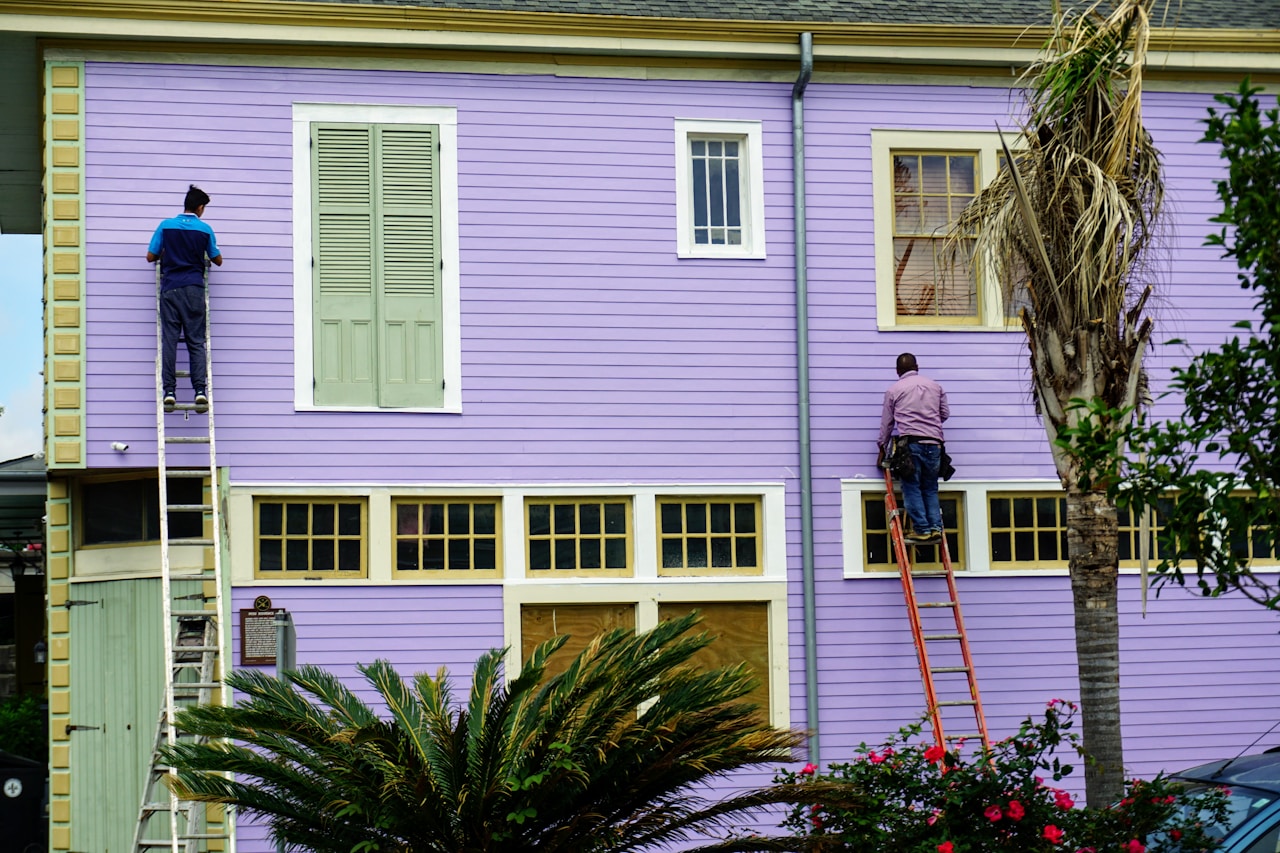
To power wash effectively, aim for a sunny day. Begin at the top and work your way down. This method prevents streaks. For those hard-to-reach spots, a ladder or extension wand helps. Most people think washing isn’t necessary, but it sets the stage for success! After washing, let the surface dry completely.
Scraping and Sanding Techniques
Once your home is clean, it’s time to scrape and sand. This step removes loose paint and smooths the surface. It’s like giving your walls a fresh start. Scraping should focus on peeling areas. Use a sturdy scraper for best results.
Next, sanding comes into play. This step shouldn’t be skipped. Sanding smooths rough spots, ensuring the primer and paint stick well. Tip: Use medium-grit sandpaper for most siding materials. This effort creates a primed canvas for painting.
Effective Caulking and Sealing
Caulking and sealing fill gaps and cracks. This step is vital for keeping moisture out. Water can ruin paint jobs over time. Seal around windows, doors, and any joint areas. Here’s the key insight: Proper sealing prevents future paint peeling and water damage.
Use a quality exterior caulk. Apply it evenly, then smooth with a fingertip or tool. Let it dry before applying primer. This simple task adds years to your paint job’s life. For detailed guidance, explore this article.
Priming for a Lasting Finish
With your surface prepped, it’s time to prime. Priming is like setting a foundation for beauty and durability. Let’s look at how to do it right.
Best Practices for Exterior Primer
Primer is your paint’s best friend. It provides a base for color, ensuring paint layers adhere properly. Choose a primer suitable for your siding type. For wood, an oil-based primer works wonders. For masonry, opt for latex-based options.
Apply primer in thin, even coats. This technique prevents drips and sags. Here’s a surprise: Primer can help highlight areas needing extra sanding or caulking. Let the primer dry fully before painting. This step is essential for a lasting finish.
Choosing Sherwin-Williams Paint
Selecting the right paint is crucial for a durable finish. Sherwin-Williams offers a range of high-quality exterior paints. These are known for their vibrant colors and weather resistance. Did you know? Sherwin-Williams paint can withstand harsh Delaware climates.
Consider their Emerald or Duration lines for superior protection. Both resist fading and peeling, keeping your home looking fresh. For more on choosing the right paint, visit this resource.
Enhancing Curb Appeal

With a strong foundation, it’s time to focus on the finishing touches. This stage can elevate your home’s look and value. Let’s explore how to enhance curb appeal.
Weather-Resistant Finishes
Weather-resistant finishes protect your paint job from the elements. They offer an extra layer of defense against sun, rain, and wind. Fun fact: These finishes can extend the life of your paint by up to 5 years.
Choose a finish that suits your climate. In Delaware, a semi-gloss or satin finish works well. It adds shine while protecting against moisture. Applying this finish is simple: use a sprayer or roller for even coverage. This final touch ensures your home stays beautiful longer.
Trim and Deck Painting Tips
Don’t overlook trims and decks. These areas need attention too. Painting them can make a big difference in your home’s overall appearance. Focus on using high-quality paint specific for trim. This type is designed to withstand wear and tear.
For decks, consider a paint or stain that matches your home’s exterior. These products protect wood from rotting. Most people forget about deck maintenance, but it’s crucial for safety and aesthetics. Regular touch-ups keep your outdoor spaces inviting and safe.
By following these steps, you’re on your way to a stunning, long-lasting exterior. Your home will not only look great but will also stand strong against the elements. Now’s the perfect time to start your painting project. For more ideas and guidance, explore our detailed tips.
Leave a Reply